DYI Sealed Beam Headlight Conversion to LED
A versatile sealed beam replacement technique demonstrated on my 1982 Honda XL80S motorbike. Here I convert a sealed beam headlight into a LED headlight using some basic tools and supplies and two fairly inexpensive items from Amazon/eBay, all while keeping the original headlight housing!
FULL VIDEO HERE (more info, exact supplies, and tools I used in the text below!)
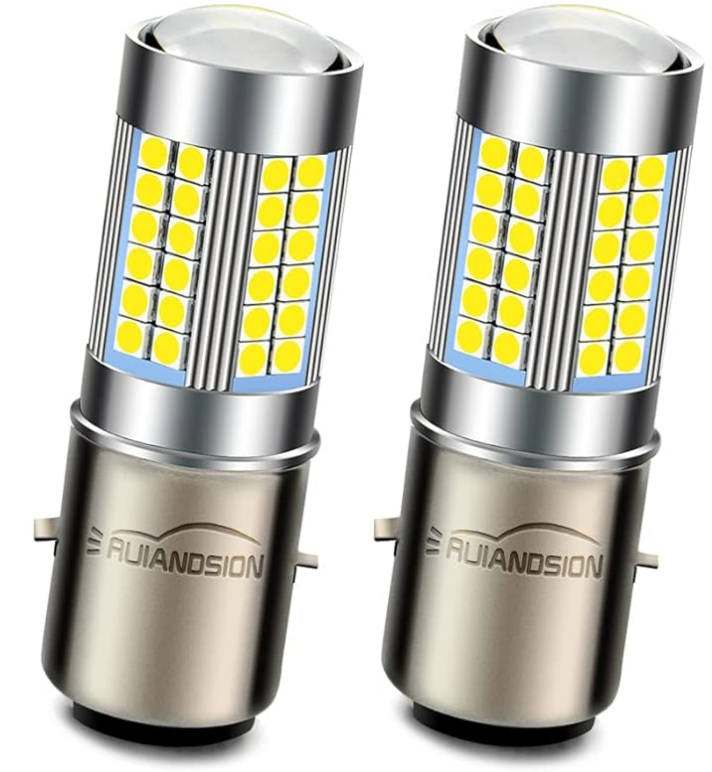
Below are the 6 Volt LED bulbs I purchased for my 1982 Honda XL 80S and 1984 Honda XL 100. They work great with the 6V battery! I’ve tried 12V bulbs before on the 6V battery, some work (but usually not at full strength light) and others straight up won’t work at all. I’ve ordered other Ruiandsion products before (I think they are German design?) and they seem like decent quality and all seem to be holding up good. These bulbs
 Click Here to Purchase
or Click Here for the 12V version
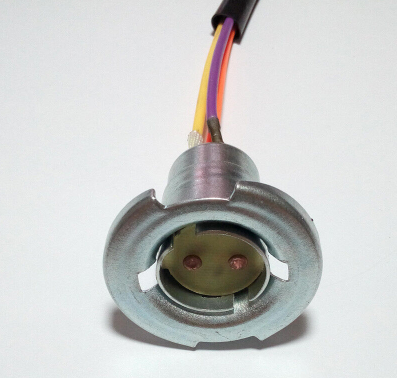
Finding a bulb socket / lamp holder that fit these particular bulbs was actually kind of difficult. I tried 2 different products from Amazon that looked like they would work and/or said they would work, but both turned out to be no-go’s (at least not with some modifications, which I didn’t was a good idea as I didn’t want to increase the chances of causing a short). I searched Ali Express as well, but saw a lot of the same products as I saw on Amazon. Long story short, I found an excellent product and fit on eBay! The wiring connections connect to the original Honda wiring on the bike as well, which is nice! If it’s out of stock, the key is to look for socket / lamp bulb holder type ” BA20D “.
 Click Here to Purchase
And here is what I used to secure the bulb.
(1) Shoe Goo. This product is amazing! So versatile. It bonds to just about everything, is flexible, waterproof, and durable and sets pretty fast too (good to go after a few hours). Epoxy is okay… but it’s not great for bonding plastics, and is more messy and smelly. Ordering from the links below (and above) helps support the website and channel, as I get a very small commission (thank you!) 🙏
 Click Here to Purchase
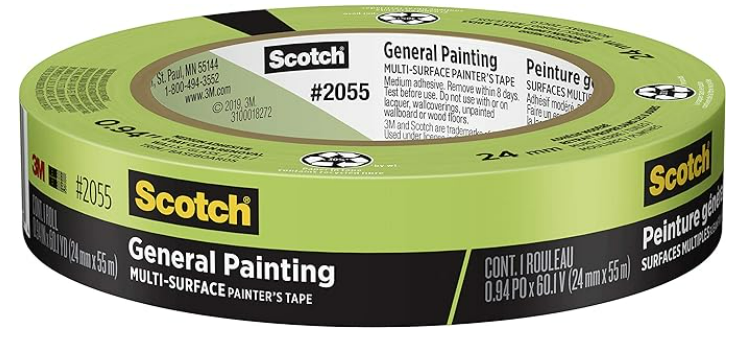
(2) Some tape (any tape will do, but I like painters tape for these sort of things)
 Click Here to Purchase
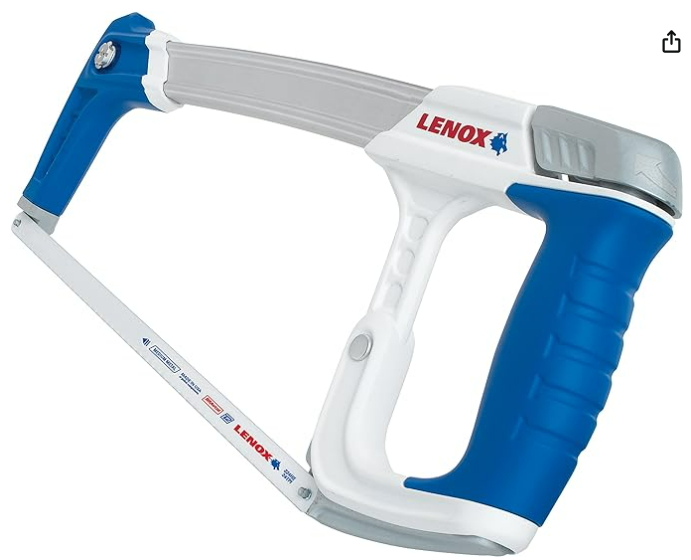
And finally, you’ll need a metal hack saw to cut off the fused bulb socket. You could probably get away with a grinder as well, but your precision may be less and the chances of damaging the light housing increases. The old internal incandescent bulb usually breaks in the process. I took a screw driver and poked it in light housing to break up the glass bulb bits into smaller pieces so that they would shake out easier. Carefully blow (close your eyes first! 😅 ) and/or use some paper towel / a cloth to wipe out the inside of the light housing if needed to get out metal bits or remaining glass (use your screw driver to rotate the cloth/paper towel around). If you do a good job cutting off the old fused bulb socket you should have a nice big round hole and probably don’t even need to Dremel out a wider to get the new LED bulb to fit. NOTE: These last items are a bit more expensive, but if you like fixing things these tools will more than pay for themselves over time. Consider hitting up your local flea market if your budgets are tight – you can’t beat flea market prices and value (those old, but well made US or Japanese tools can’t be beat!!!).
 Click Here to Purchase
 Click Here to Purchase
